We will be showing you step by step the way we paint and heat transfer our furniture.
We found this beautiful coffee table at a garage sale perfect for the heat transfer.

First we did was take it apart for a better sanding, this is optional.

We use 150 grit sand paper, also 220 grit sand paper for that smooth finish.
Ones I cleaned the piece with a damp cloth I proceed to paint a Turquoise color, and then distress with 220 grit sand paper to give it that aged look and that smoothness.
Then I proceed to stain and wax with Howard Citrus-Shield Mahogany Premium Paste Wax it is a two in one product, which I like.
(Note: The other option is using stain and Minwax Paste Finishing Wax to seal it).
Heat transfer onto wood tops
First thing I do, I go to my favorite vintage image website The Graphic Fairy to choose my images.
(Note: The image needs to be mirror image to do the transfer, you can use Microsoft Paint for it).
Using Microsoft paint I have scale the image onto pages
(Go to page setup then onto scaling you can choose Fit to by pages)
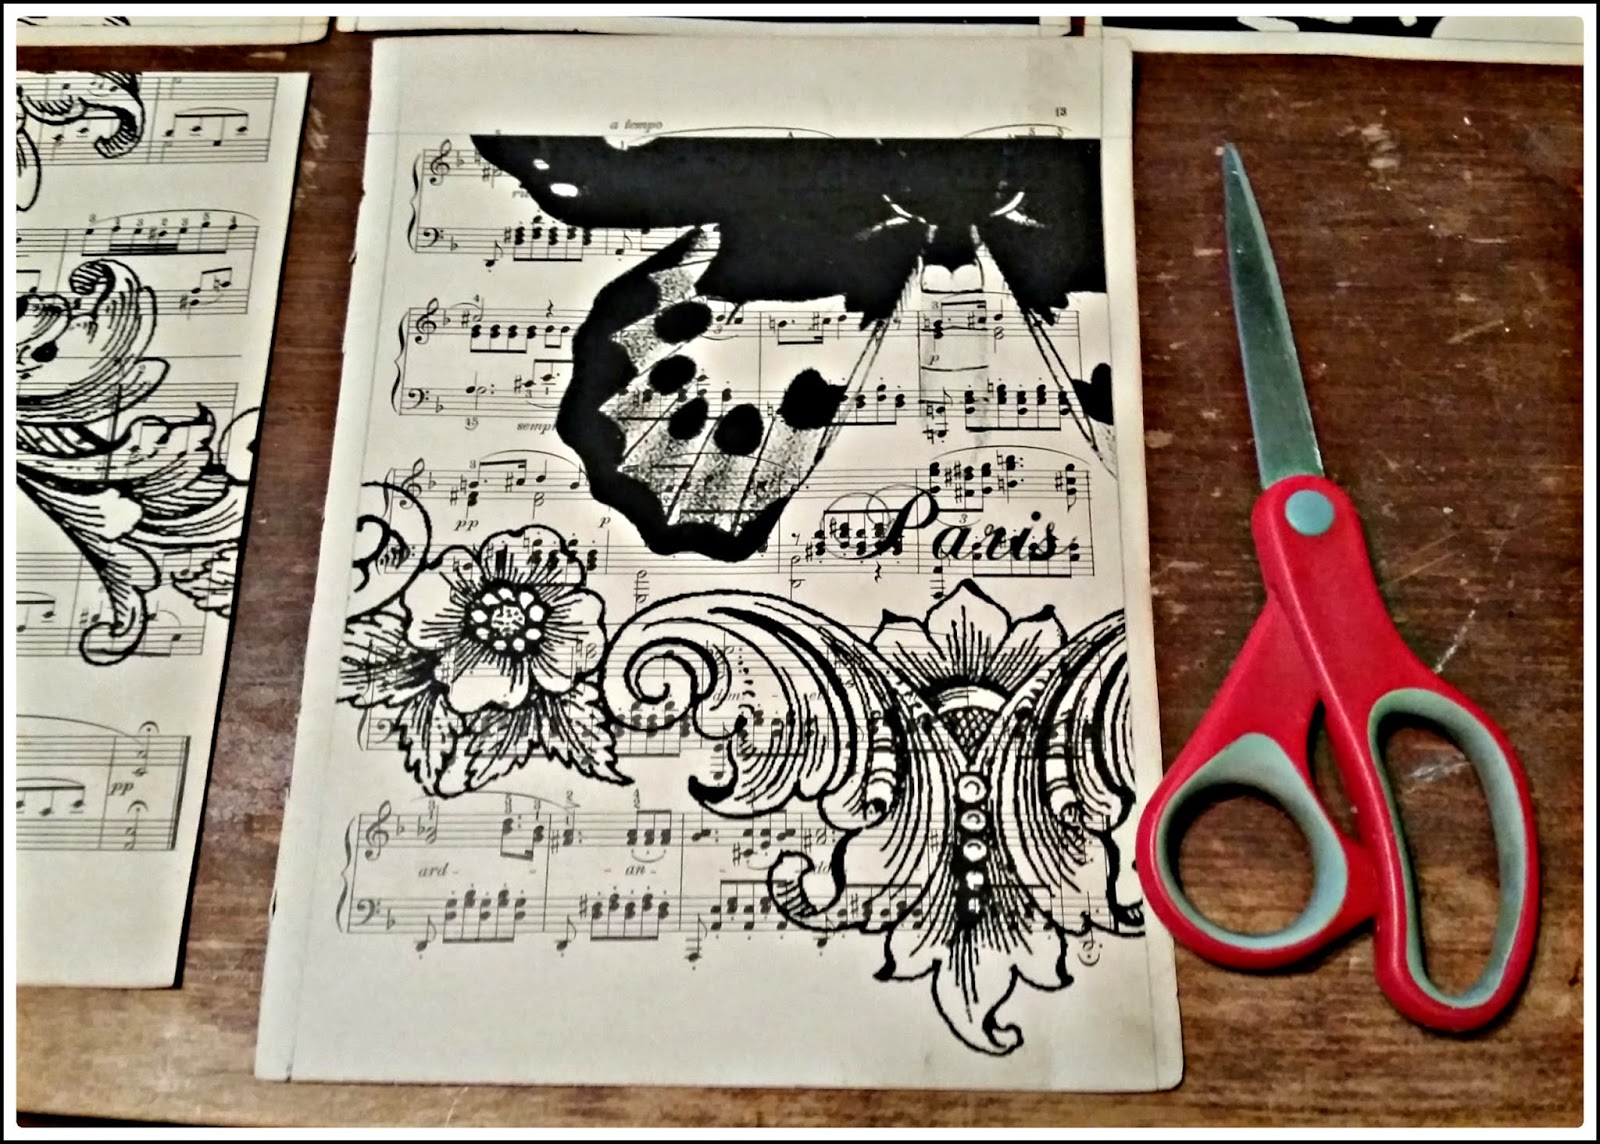
I then print the vintage image using a laser printer.


Then I trace the lines using a ruler and a pencil make sure they are straight, then cutout with scissors.
Ones I have the image together I proceed to tape it with Scotch Blue painters tape, cutting small pieces of it making sure I don't tape over the image.
Then I centered the image taping the edges of the paper as you can see below,this will prevent the heat from separate my image.


I get my heat transfer tool using the pattern transfer tip.
(I use Weller it's a 15-piece wood burning and hobby kit).
I then began to heat my image in a circulation motion lifting the paper to make sure it's transferring right, it takes time but believe me it's worth it.


Below is the transfer of the images.


I then stain the wood using Early American 230; also I gave it 3 coats of polyurethane to seal it.
Ones it's dry I use P1500 sand paper using a little bit of water to smooth the top.
And here is the final product.

Before and after pic.

Below I am posting other heat transfer projects we have done.
One of our projects was featured at The Graphic Fairy it was this Pig heat transferred on wood top. The graphic fairy is the best site for vintage images and one of our favorite stops. So you can imagine how proud we were when they chose our project to be featured on the site. "Some Pig"