
One of Our most popular pin on Pinterest is this decoupage coffee table.

We will be showing you guys a step by step tutorial on decoupaging a coffee table.
We found this wonderful coffee table at a garage sale.

Before paint I prep the piece using;
150 grit sand paper and to give it that smooth finish a 220 grit sand paper.
After I have sanded the piece I clean it with a damp cloth before I start painting it.

I paint the coffee table using Teal tone by Benjamin Moore (leaving the top unpainted)
I distress the piece with 220 grit sand paper to give it that perfect aged look.
Before staining and waxing I have cleaned the piece with a damp cloth.
After is dry I stained it using Minwax Early American 230 and Minwax Paste finishing Wax to seal it.
Decoupaging the top
I've use this music book we found at a garage sale, removing the sheets by using an xacto knife.

Using Microsoft paint I have scale the image onto pages
(Go to page setup then onto scaling you can choose Fit to by pages)
I then print the vintage image onto the sheets of music using a laser printer.

Then I trace the lines using a ruler and a pencil make sure they are straight, then cutout with scissors.
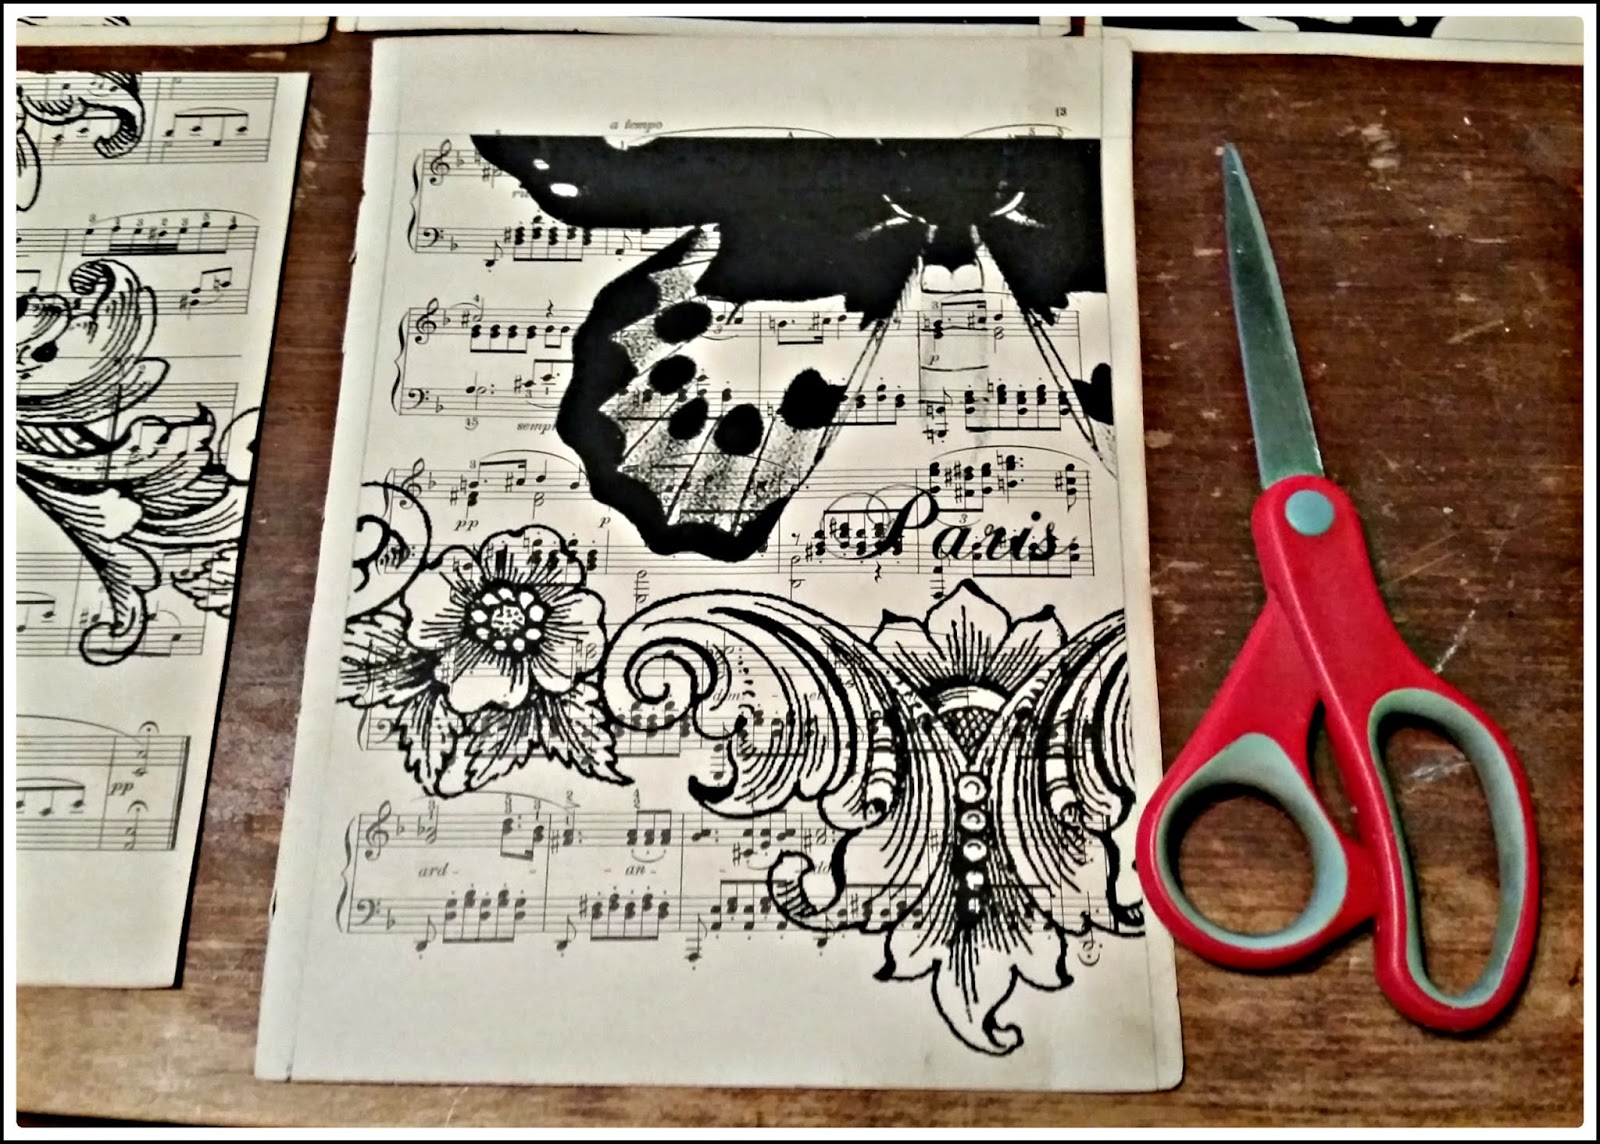
It should look like this.

After I have centered the image I go straight to decoupaging using Mod Podge Antique Matte, what I do is glue the base then place sheet by sheet and smooth it with a gift card or you can use the mod podge tool.
I let it dry then proceed to sand the edges with my 200 grit it works wonders.

After I am done sanding the edges I proceed in decoupage the top with my mod podge antique matte giving it two coats (note: do not worry about the bubbles just let it dry they will go away).
Then the following day I gave it two coats of polyurethane to seal it.
And here is the finished product.
You can see how the mod podge gave it an even more aged look.

Before and after pic.

Below I am posting other decoupage projects we have done.
(Note: you can find the vintage images at The Graphic Fairy website)
(Note: you can find the vintage images at The Graphic Fairy website)


Leather was removed to decoupage with music sheets.


Decoupage with Sears catalog.


Dresser turn kitchen island with decoupage drawers.


.jpg)
.jpg)

.png)
